If you’re one of the thousands who spent time on the frozen bliss of Lake Nokomis this weekend, then you’ve heard it. Amidst the crowds and vendors and skates carving hard outdoor ice and huffs and puffs of USPHC participants, you’ve heard it. And if you’ve ever played pond hockey with a wooden goal, you can probably close your eyes right now and hear it clear as a Minnesota day.
It is, simply, “the plunk”.
It is the sound of 6 ounces of black vulcanized rubber striking dimensional lumber, often the result of silky dangles, a laser-guided pass, or a long-range wrister. But however it happened, “the plunk” is one of the sweetest sounds in all of outdoor hockey.
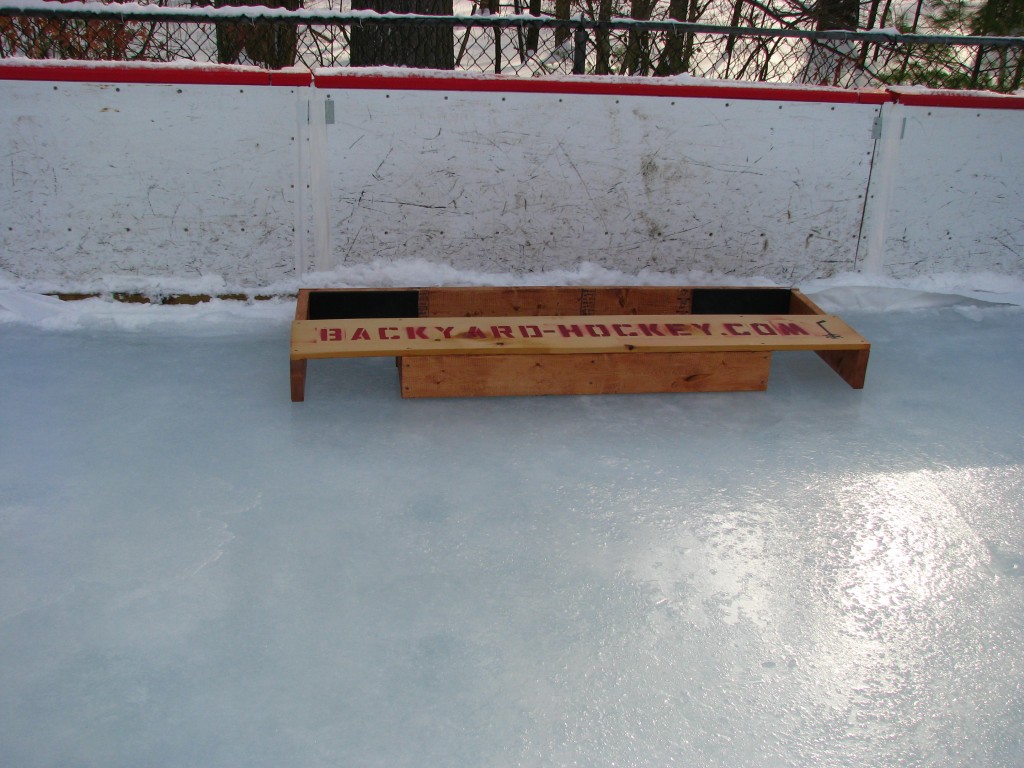
Today crowned another batch of Golden Shovel recipients, and another successful year for TST Media Sport Ngin and their US Pond Hockey Championships. But that doesn’t mean we’re a year away from hearing “the plunk” again. With a half hour of your time and some inexpensive parts, you can have your very own wooden pond hockey goal to use on your backyard rink or pond.
May the plunk be with you.
The Parts
The Build
And that’s it! If you’ve done it right, you should now have a simple, inexpensive pond hockey goal to use whenever you hit your outdoor slab. And feel free to get creative. We sprayed our site name across the top then added some scrap rubber to the rear panel. Same satisfying plunk, 50% less wood chips on your slab.

Want to get involved in one of the best pond hockey events in the country? Visit www.uspondhockey.com and keep your eyes peeled for next year’s event dates. Then get in line to sign up.


Pingback: Pond Hockey